
With the advent of Windows 11, maintaining system performance and privacy has become more critical than ever. One effective tool to achieve this is CCleaner, a renowned utility designed to optimize your computer by cleaning junk files, fixing registry errors, and safeguarding your online privacy. In this guide, we'll walk you through the steps to install CCleaner for Windows 11, ensuring your system remains in top shape.
Support
Before we dive into the installation process, let's explore why you might want to use CCleaner on your Windows 11 machine:
Performance Enhancement: CCleaner helps remove unnecessary files that can slow down your computer, such as temporary files, system cache, and browser history.
Registry Cleaning: It can fix registry errors, which can improve system stability and reduce the chances of crashes.
Privacy Protection: CCleaner deletes browsing history and cookies, protecting your online privacy.
Storage Management: By removing junk files, CCleaner helps free up valuable disk space.

Open Your Web Browser: Launch your preferred web browser (e.g., Microsoft Edge, Google Chrome, Mozilla Firefox).
Visit the Official CCleaner Website: Navigate to CCleaner's official website.
Choose Your Version: Click on the "Free Download" button if you want the free version. For additional features, you might consider purchasing CCleaner Professional.
Download the Installer: After clicking the "Free Download" button, you'll be redirected to a download page. Click on the "Download" button to start downloading the installer file.
Save the File: Choose a location on your computer to save the installer file (e.g., the Downloads folder).
Locate the Installer: Once the download is complete, open the folder where you saved the installer file.
Run the Installer: Double-click on the downloaded file to start the installation process. You might see a User Account Control (UAC) prompt asking for permission to make changes to your device. Click "Yes" to continue.
Follow the Setup Wizard: The CCleaner Setup Wizard will guide you through the installation process. Here are the steps:
Select Language: Choose your preferred language and click "OK."
Setup Options: You'll see a screen with setup options. You can customize these settings, such as adding a desktop shortcut or enabling automatic updates. After making your selections, click "Next."
Installation Location: Choose where you want to install CCleaner. The default location is usually fine. Click "Install" to proceed.
Complete Installation: The installation process will begin. Once it's complete, you'll see a screen confirming the successful installation. Click "Finish" to exit the Setup Wizard.

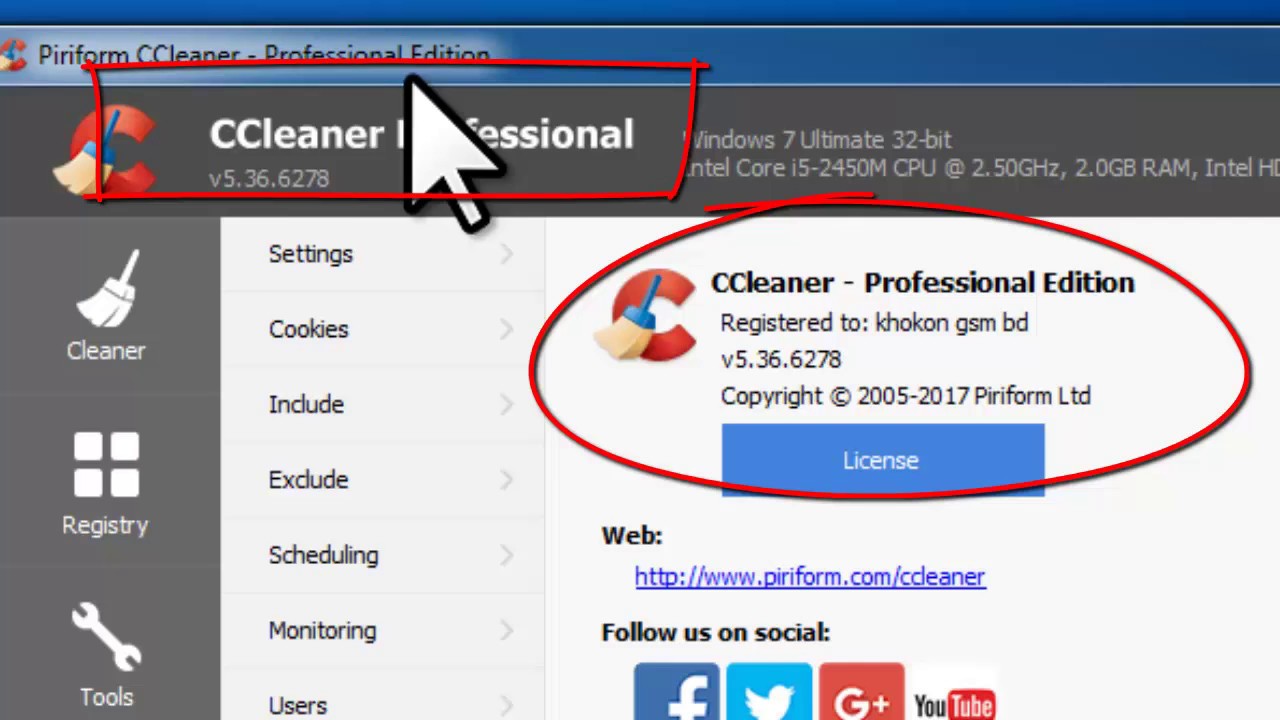
Open CCleaner: After installation, you can launch CCleaner from the Start menu or by double-clicking the desktop shortcut (if you created one).
Configure Settings: On the first launch, CCleaner may prompt you to configure some initial settings. You can customize these settings based on your preferences.
Now that CCleaner is installed, let's explore how to use it effectively to keep your Windows 11 system running smoothly.
Open CCleaner: Launch the application if it’s not already open.
Quick Clean: Click on the "Health Check" or "Easy Clean" option (depending on your version). This feature performs a quick scan and cleans up unnecessary files and tracks.
Review Results: After the scan, CCleaner will present a summary of items that can be cleaned. Review the results and click "Clean" to remove these items.
Access Custom Clean: For more control, click on the "Custom Clean" tab.
Select Items to Clean: You can select specific categories such as temporary files, history, cookies, and more.
Select Items to Clean: You can select specific categories such as temporary files, history, cookies, and more.
Analyze: Click "Analyze" to see what can be removed.
Clean: After reviewing the analysis results, click "Run Cleaner" to delete the selected items.
Open Registry Cleaner: Click on the "Registry" tab.
Scan for Issues: Click "Scan for Issues" to search for registry problems.
Review and Fix: Once the scan is complete, review the list of issues found. Click "Fix selected Issues" to resolve them. You may be prompted to back up the registry before making changes—it's a good idea to do so.
Regular Scans: Schedule regular scans to keep your system clean and optimized.
Update CCleaner: Ensure you have the latest version of CCleaner to benefit from new features and improvements.
Backup: Always back up important data before running a registry cleaner or making significant changes to your system.
Install CCleaner For Windows 11 is a straightforward process that can significantly enhance your system's performance and protect your privacy. By following the steps outlined in this guide, you can easily download, install, and configure CCleaner to keep your Windows 11 machine running smoothly. Regular use of CCleaner will help you maintain a clean and efficient computer, ensuring a better overall user experience.
